
EU shop rules on Wix without an app
If your Wix shop delivers to customers in the EU, four display rules apply to those orders. You can meet all four with what Wix already gives you. This guide shows every click.
We built the withdrawal form, its confirmation email, the footer button and the product info section on our own Wix site and tested them. The guarantee-notice link follows the same steps as the footer button; we did not upload the file through it ourselves.
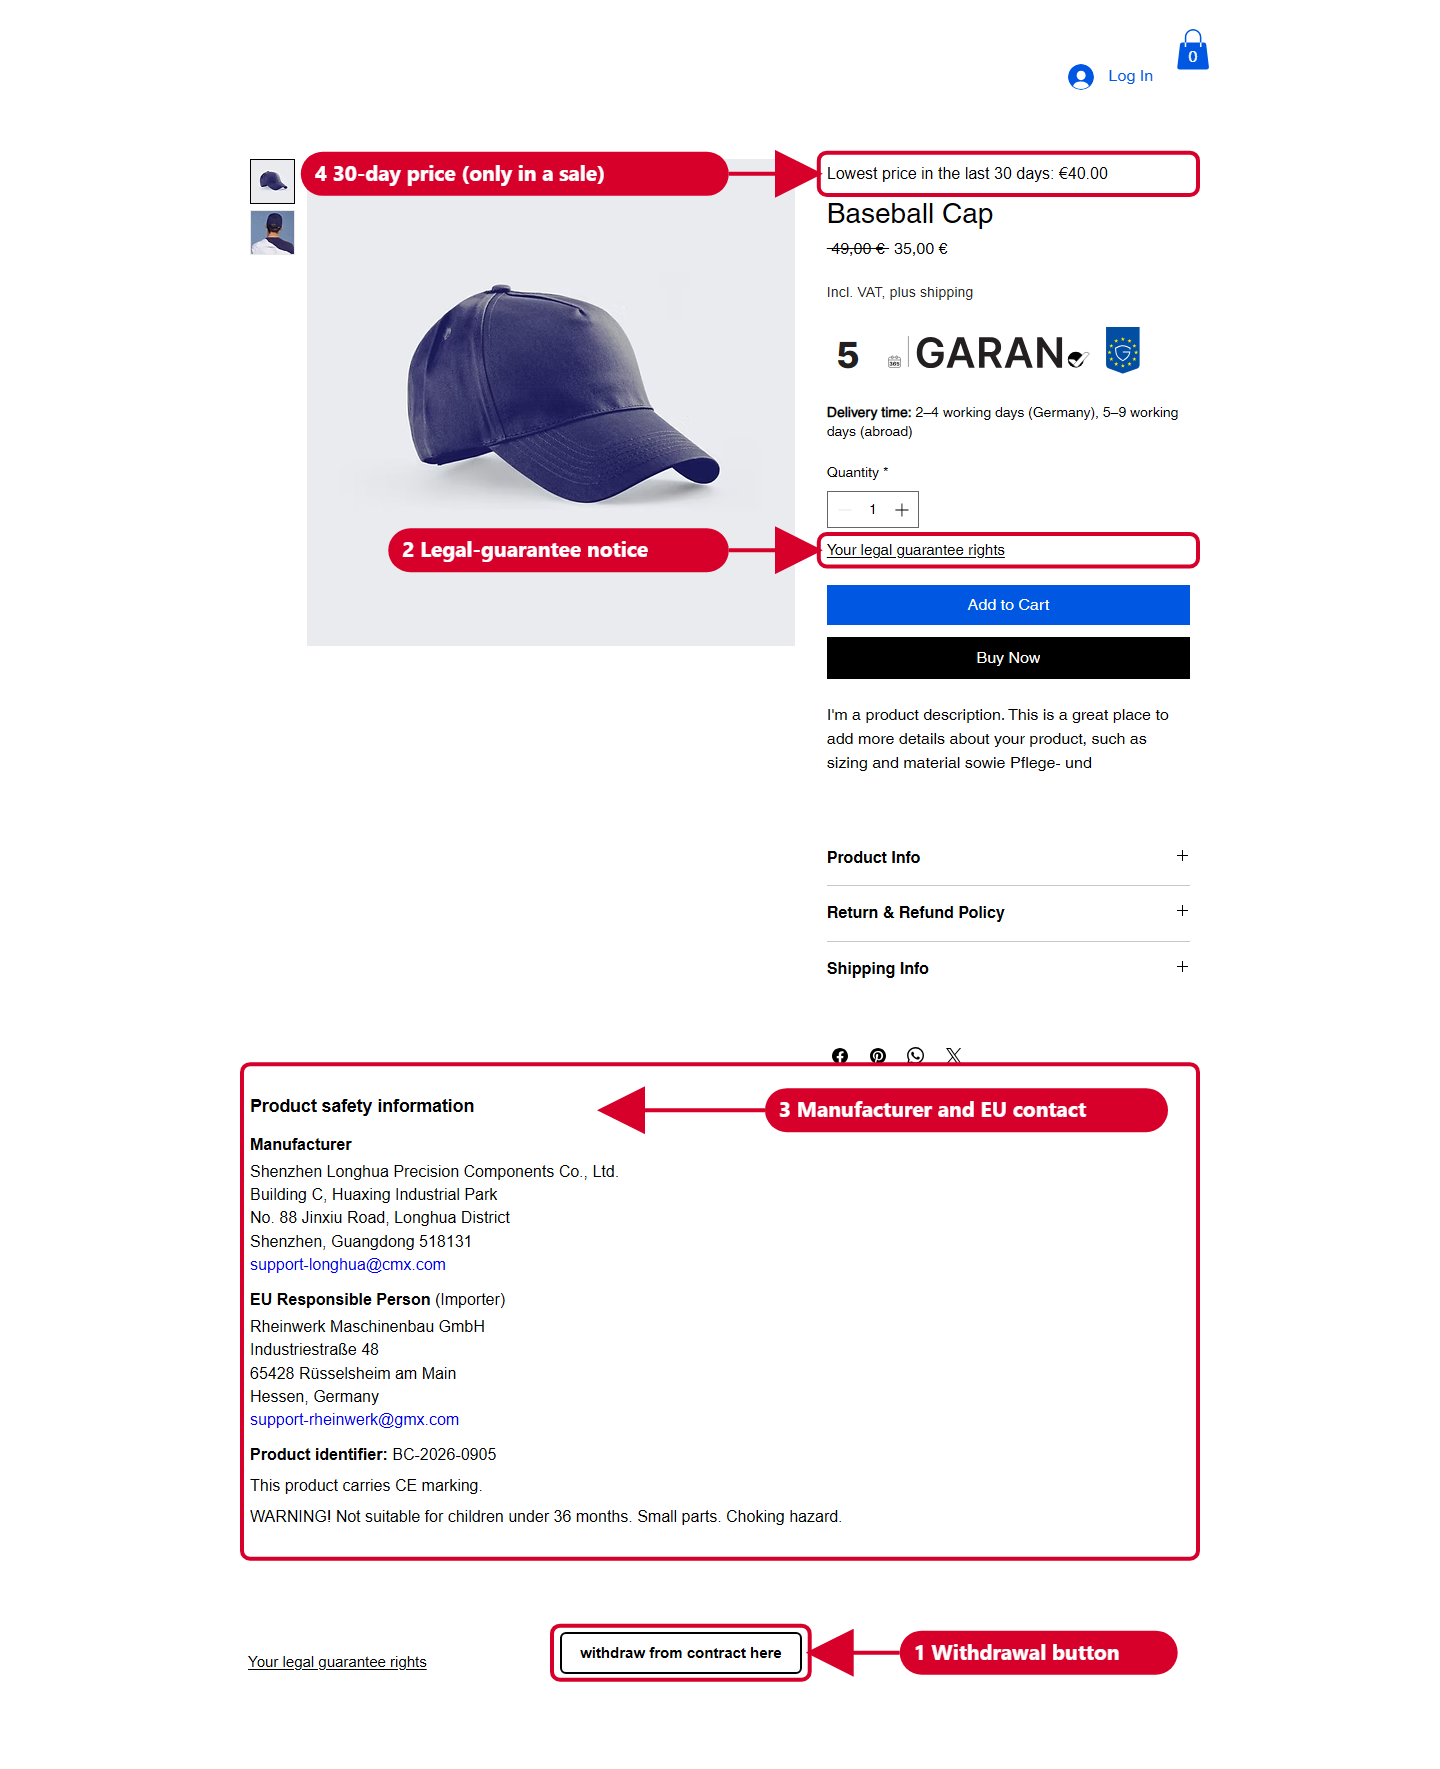
This is what the result looks like on our test shop, with our app's blocks in the same four places:
This guide is general information, not legal advice.
1. Withdrawal button
What it has to do (since 19 June 2026): a button labelled "Withdraw from contract here" that is easy to find on every page, a short form behind it, a second button "Confirm withdrawal", and then an email to the buyer confirming what they sent and when.
The form
- In your dashboard go to Customers & Leads > Forms & Submissions > Create Form > Create Standalone Form.
- Click the + on the left and add First name, Email and Short answer.
- Click the Short answer field and change its Field title to "Order number".
- Click the Submit button and change Submit button text to "Confirm withdrawal".
- Under Settings, set the Form name to "Withdraw from contract". Save.
The confirmation email
Wix's own form notification only goes to you, so the buyer's copy needs an automation.
- Go to Automations > Create Automation > Start from Scratch.
- Trigger: Form submitted. Under "Select which forms trigger this automation" choose Specific > Select, tick your form, OK, Apply.
- Click the + under the trigger, then Action > Send an email. It already goes to the person who filled in the form ("Emails from trigger"), and it already attaches a PDF of what they sent with the submission time ("Submission Pdf" is ticked). That PDF is what the rule asks for.
- Under Email template > Edit, replace the placeholder subject and text with your own, for example "We have received your withdrawal. A copy of what you sent is attached."
- Click Show additional settings > Email type > Edit and choose Business transactional with the topic Visitor submits a form (at the bottom of the list, under Wix Forms). Otherwise the email counts as marketing, and a buyer who unsubscribed would not get it.
- Apply, then Activate at the top right.
The button
- Back in Forms & Submissions, click the share arrow next to your form and copy its link.
- Open the Wix Editor (Edit Site). Click Add Elements (the + on the left) > Button and pick one.
- Click Change Text and type "Withdraw from contract here".
- Click the link icon, choose Web address, paste the form's link, Done.
- Drag the button down into your footer until Attach to Footer appears, and drop it. That puts it on every page. Widen it if the text does not fit.
- Publish.
Then test it logged out of Wix, with a private email address, and check that the confirmation and its PDF arrive. In our test the email came within a minute.
Say so in your withdrawal policy. The rule also asks you to tell buyers, before they order, that the button exists and where it is. Add a sentence to your withdrawal or returns policy, for example: "You can also withdraw online with the 'Withdraw from contract here' button in the footer of every page."
Two things to know: Wix's free plan sends up to 200 automated emails a month, and the time on the PDF is in your site's time zone.
Anything made to order or personalised has no right of withdrawal. If you sell those, say so on those product pages.
2. Legal-guarantee notice
What it has to do (since 27 September 2026): a line worded like "Your legal guarantee rights" that opens the European Commission's official notice. The notice is a fixed design, so you use the file as it is: the English notice.
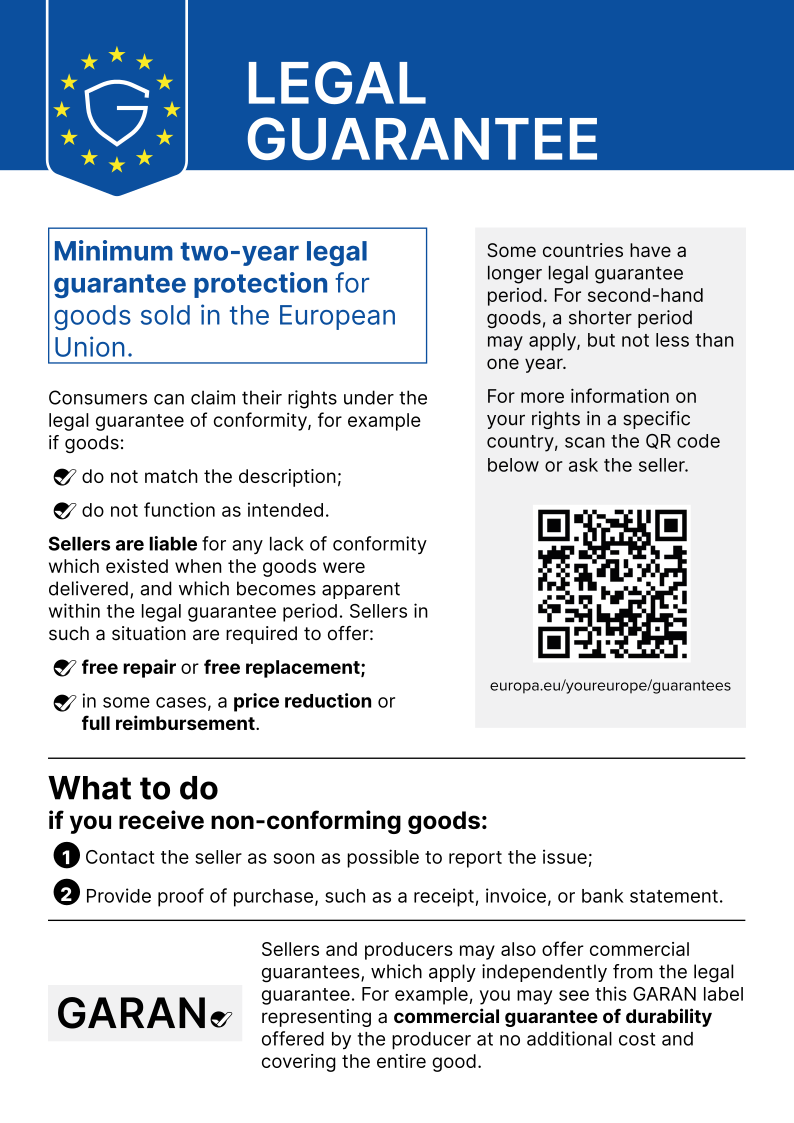
- Download that file.
- In the Wix Editor, add a text "Your legal guarantee rights" to your footer, the same way as the button above.
- Click the link icon, choose Document, and upload the file there. Publish.
In the picture the line also sits just above the Add to Cart button. By hand, the footer is the place we would use.
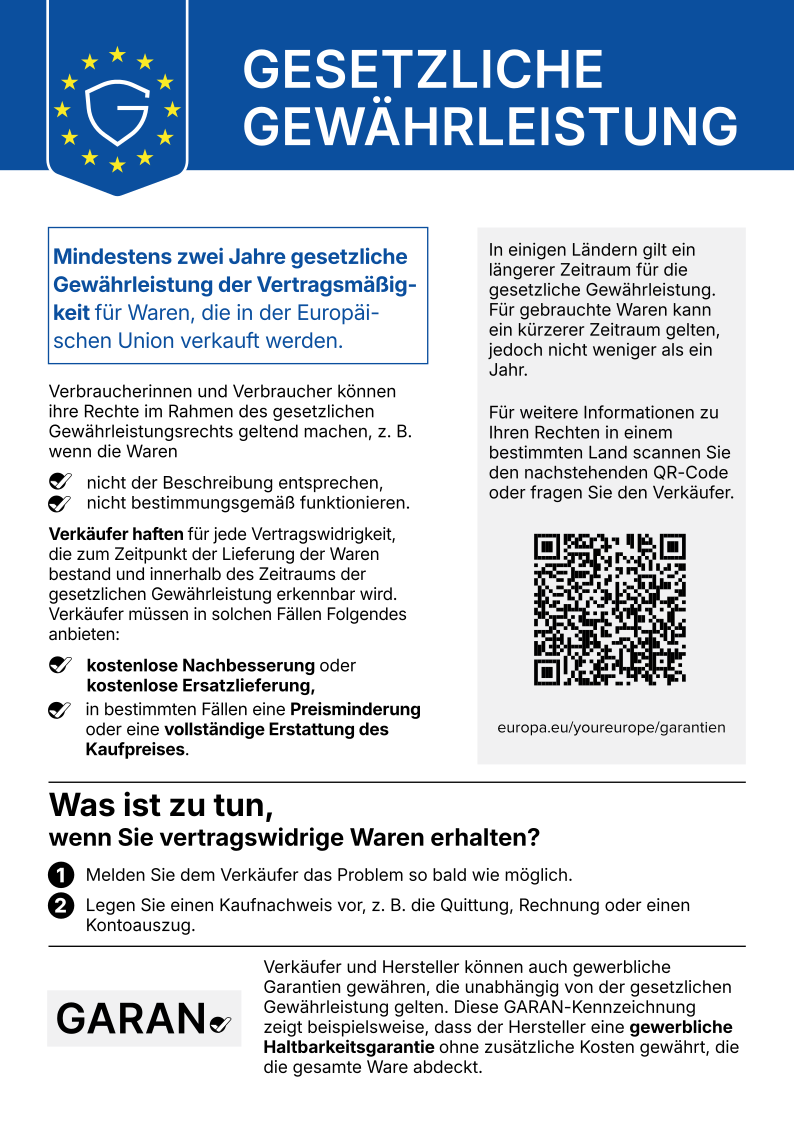
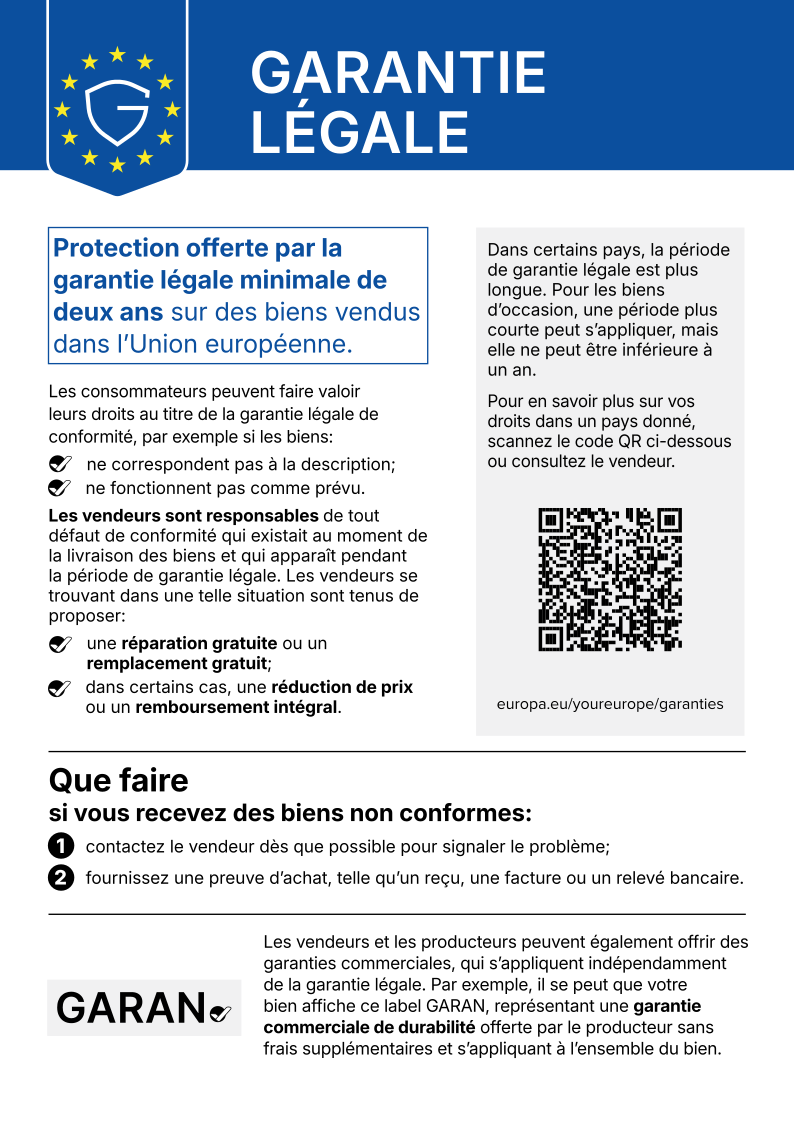
The notice exists in all 24 official EU languages. Use the one that matches the language of your
shop: change en in the file name to your language code, for example
notice-de.svg for German or notice-fr.svg
for French.
3. Manufacturer and EU contact
What it has to show (since 13 December 2024), on each product page: who made the product (name, postal address, email), a responsible person or company inside the EU if the maker is outside it, what identifies the product (its type and a model, batch or serial number, next to the picture), and any warnings, in the language of the country you deliver to.
The manufacturer is whoever made the product. If you make it yourself, that is you. If you resell it, it is the brand or factory behind it, not your shop.
In your dashboard go to Catalog > Store Products > Products and open a product.
Scroll down to Additional info sections and click Add an Info Section > Create New Info Section.
Put "Product safety" in both Title and Name (internal), and paste into Description:
Manufacturer: [name of the company that made it], [address], [email]. EU responsible person: [name], [EU address], [email]. Product: [type, and model, batch or serial number].
Add any warnings for that product.
Save, then Apply, then Save the product. All three are needed.
On the product page it shows as a row called "Product safety" that the shopper clicks to open.
Once the section exists it is in the list for every other product: open the product, Add an Info Section, tick "Product safety", Apply, Save. For many products at once, tick them in the product list and use More Actions.
The EU contact is the part most shops outside the EU do not have yet. Small sellers usually pay an EU representative service for it. No app can supply that for you, ours included.
4. 30-day price, only when you run a sale
When you show a reduced price to EU buyers, you also have to show the lowest price you charged in the 30 days before the sale started.
- Before you change any prices, note each product's lowest price of the last 30 days. Wix does not keep that history for you.
- For the length of the sale, add a line to the product, in the description or an info section: "Lowest price in the last 30 days: [price]".
- Take the line out again when the sale ends.
If you would rather not do it by hand
Our Wix app, EU Compliance Kit, adds the withdrawal button, the guarantee notice and the 30-day price on its free plan, and the manufacturer block on the paid plan.
The setup in two minutes:
Playing loads the video from YouTube (Google), which sends data to Google. Privacy
Frequently asked questions
Does this cost anything on Wix? No. Forms, automations, info sections and footer buttons are part of Wix. The free plan sends up to 200 automated emails a month.
Does the buyer really get a confirmation? Yes, once the automation is active. In our test the buyer received an email within a minute, with a PDF listing their name, email, order number and the submission time.
Do these rules apply to a shop outside the EU? They apply to orders from consumers in the EU. If your shop delivers there, they apply to those orders wherever you are based.